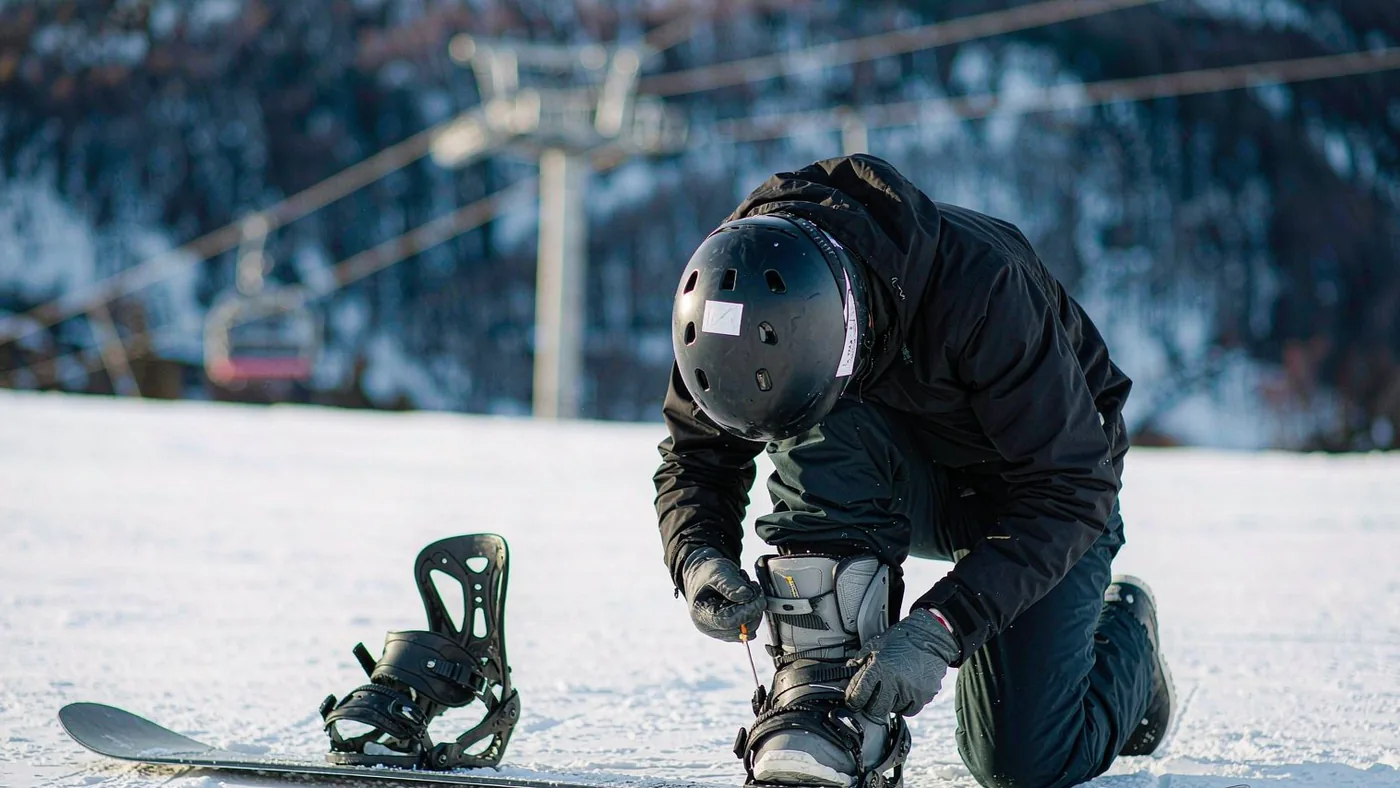
It is the night before your first day of the trip. The board is on the floor of an apartment in Bourg-Saint-Maurice, the bindings are still in the plastic, and the only tool you have is the small screwdriver that came in the box. You have a rough memory of someone saying the front foot should be about fifteen degrees and the back one about zero, and you are not sure whether that was advice or a joke.
Two things are true. The default setup is rideable, which is why nobody fixes it, and a setup matched to your body and your riding is one of the cheapest improvements available to you.
What you need before you start
A number three Phillips screwdriver, or the tool that came with the bindings. A tape measure. A binding screw for each insert you use — four per binding on most boards, two on a channel system. Check the manufacturer's recommended screw length, because screws that are too long can damage the base and screws that are too short will not hold the binding securely.
Setup steps in order
Work through these in sequence, because each step changes the ones after it.
- Stand in your riding stance without the board. Feet shoulder width apart, knees slightly bent. Measure between the centres of your feet — that is your starting point for stance width.
- Find the reference stance on the board, which most boards print on the topsheet or in the spec sheet.
- Choose your insert packs and mark your stance width, centred on the reference stance unless you have a reason to move it.
- Mount the front binding at your chosen angle, hand-tightening the screws in a cross pattern — top left, bottom right, top right, bottom left.
- Mount the back binding the same way, and check the two are symmetric about the board's centre line.
- Set highback rotation so the outer edge sits roughly parallel to the heel edge.
- Set forward lean to a small amount, and increase it gradually over your first few days.
- Fit the straps and check the centring, with roughly equal overhang at toe and heel.
- Do a final torque check on every screw, then again after your first morning on snow.
Stance width
Stance width is the distance between the centres of your two bindings, and it is the setting most riders never touch. Too narrow and you lose stability and leverage; too wide and you will feel it in your hips and lower back by the afternoon.
There is no formula that works for everyone, but there is a reasonable method. Measure your shoulder width. Most riders are comfortable with a stance between roughly shoulder width and about five centimetres wider. Park riders often go slightly wider for stability on landings; riders who carve and freeride often go narrower for quicker edge-to-edge transitions.
If you have to guess, start at the board's reference stance and adjust by one insert pack at a time — usually two centimetres. If your knees feel twisted at the end of a run, or you cannot get low into a turn without discomfort, the stance is wrong.
Binding angles by riding style
Angles are measured in degrees, with zero pointing straight across the board and positive numbers pointing the toes towards the nose. The front-foot angle is always the larger of the two in a duck stance, and the difference between them determines how much your knees are rotated.
| Riding style | Front foot | Back foot | Notes |
|---|---|---|---|
| Absolute beginner, still learning | +15 | 0 | Forgiving and easy to manage; a common instructor default |
| Freestyle and park, duck stance | +12 to +15 | -6 to -9 | Symmetrical feel, much easier for switch riding |
| All-mountain, most riders | +15 to +21 | -3 to -6 | The compromise most people settle on |
| Carving and fast piste riding | +21 to +27 | +6 to +12 | Both feet forward, quicker edge-to-edge |
| Freeride and powder | +18 to +24 | 0 to +6 | Slightly forward rear foot helps in soft snow |
| Riders with knee problems | +18 | 0 | Less rotation through the knee than a deep duck stance |
Suggested starting angles only. Most riders adjust by two or three degrees over a season as they work out what their knees and hips prefer.
The duck stance — front foot positive, back foot negative — makes riding switch far more natural and suits park riders. The cost is that your rear knee is rotated, and riders with existing knee trouble often find it uncomfortable over a full week. A forward stance gives quicker edge changes and a more natural position for carving, but riding switch in it feels awkward.
Highback rotation and forward lean
Highback rotation is the setting most riders leave at whatever the shop did. The highback should sit roughly parallel to the heel edge of the board, so that when you lean back the force goes straight into the edge rather than sideways across it. Loosen the two screws at the base of the highback, rotate until the outer edge lines up with the board's heel edge, and retighten.
Forward lean tilts the highback forward, pushing your knees into a bend and putting you in a more aggressive position over the edge. A small amount helps almost everyone hold an edge on hard snow; too much and every bump pushes you onto your toes, which is exhausting. Start minimal, add a click or two per day, and stop when the setup feels supportive rather than forced.
What to check on snow
Give any change a full morning before you judge it, because the first two runs after a change feel strange whether or not the change is right. Knee pain in the joint rather than the muscle usually means the angle or stance width is wrong for you, and persistent toe or heel drag on hard turns means the boots are not centred or the board is too narrow.
If you are on a one-week trip, do not start the week by rebuilding your stance entirely. Change one thing — usually the stance width or the forward lean — ride it for two days, and leave the rest alone. Riders who arrive with a completely new setup often spend three days riding worse than they did on their old settings.
Frequently asked questions
Should I ride duck stance or forward stance?
Duck stance — back foot negative — suits park riders and anyone who rides switch often, because the body is already positioned to go the other way. A forward stance suits carving, where quicker edge changes matter more. Most all-mountain riders end up somewhere in between.
How do I know if my stance is too wide?
If you cannot get low into a turn without your knees collapsing inwards, or your hips ache after a couple of hours, the stance is probably too wide. Move in by one insert pack and ride a full morning before judging.
What is the right forward lean for a beginner?
Start with very little — just enough that the highback is not perfectly upright. Beginners need balance more than edge pressure, and too much lean pushes them onto their toes and makes the board feel unstable.
Does highback rotation actually matter?
For riders using larger angles, rotating the highback so it lines up with the heel edge makes the support feel direct rather than sideways. At low angles near zero there is very little to rotate and it makes almost no difference.
Where to go next
If the setup is comfortable but the board still feels wrong, the camber profiles guide explains what to expect from the shape underfoot. If you are choosing angle settings for a board you have not bought yet, all-mountain vs freestyle covers how shape changes what a setup is for.
For the rest of the kit, snowboard binding sizes explained covers matching bindings to boots, and the best snowboard bindings round-up covers what to buy. You can also browse the advice section for more setup and maintenance guides.