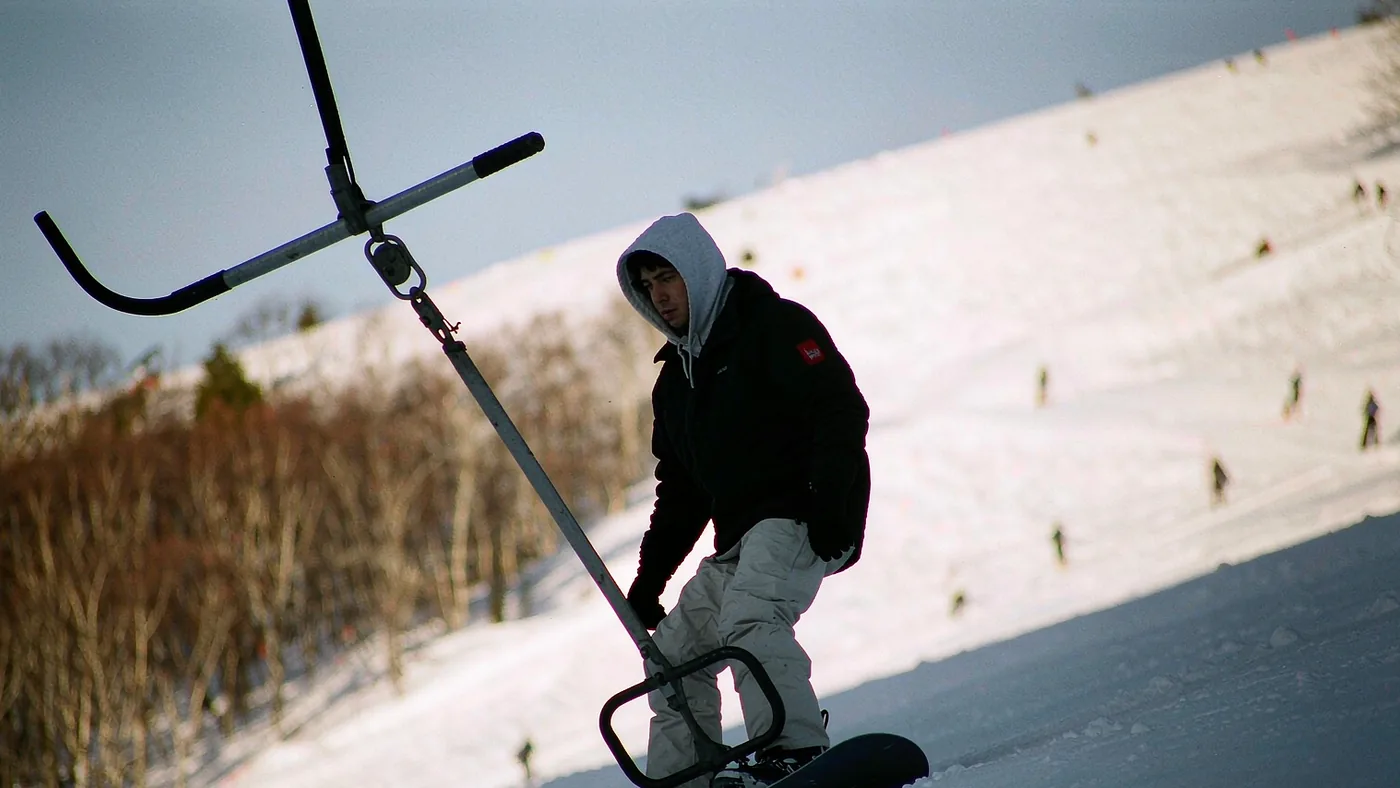
It is a grey Wednesday in a small French resort and the only way to reach the runs you actually want is a drag lift: one steel pole, one plastic disc, and a groove worn through the snow that everybody else follows without thinking about it. You have watched four people take it. Three were on skis and went up perfectly. The fourth was a snowboarder who lasted eleven metres before the disc shot out from between his legs and he slid back down the track on his backside while a queue of eight-year-olds watched.
The drag lift is the piece of mountain infrastructure snowboarders hate most, and the reputation is deserved but misplaced. A button lift or a T-bar is not technically difficult. It is a long, slow, straight glide while something pulls you uphill, and every part of it is decided before you take the pole. Riders who get the bar position and the board position right rarely fall off. Riders who take the pole in the wrong hand and grip it at chest height fall off most of the time.
What actually matters
Which lift you are standing in front of. A button lift, sometimes called a platter or a disc, is a single pole with a round plastic seat that goes between your legs. A T-bar is a bar shaped like an upside-down T that can carry one rider on each arm. They are ridden differently, and the first mistake is treating a T-bar like a button.
Where the bar or disc sits. On a button lift the disc goes between your legs and under your backside, like sitting astride a swing seat, with the pole running vertically in front of your body. On a T-bar the bar sits behind your back thigh, roughly where a chair seat would meet your hip. Nobody tells beginners this, and it is the difference between a comfortable ride and a pole across the stomach.
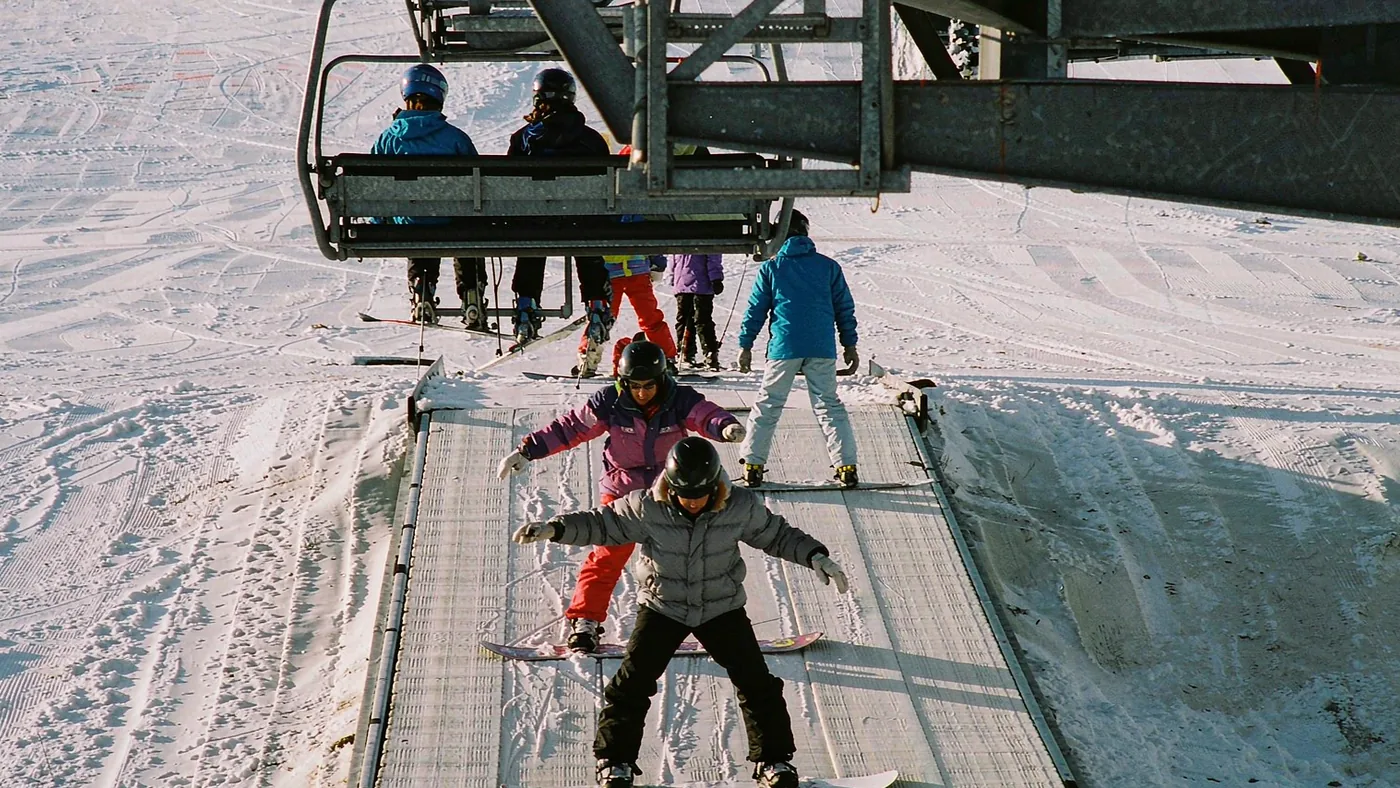
Your board is flat and pointed up the hill. The same rule as a lift exit, with one addition: because you are being pulled uphill, the board must stay in the tow track, the groove that every previous rider has cut into the snow. Steering out of that groove is what causes most falls, because the board digs an edge into the ridge beside it.
Arms stay long, weight stays low. The lift is doing the work. A straight, relaxed arm holding the pole low keeps the pull going through your hips and down into the board. A bent arm pulling the pole towards your chest drags your weight uphill and forwards, and that is the position you fall from.
The button lift, step by step
- Watch one rider before you take yours. Look at where the track runs and what the person at the top does to get off. Thirty seconds of watching removes most of the uncertainty.
- Take the pole from the operator with your leading hand — the hand on the same side as the foot you put forward.
- Pass the pole between your legs so the disc ends up behind you, then sit back against it as it takes your weight. This is the part that must happen in the right order; trying to pull the disc into place once the lift has started is what produces an eleven-metre ride.
- Hold the pole low in front of you, leading arm straight, elbow only slightly bent. Do not pull it in towards your chest.
- Keep the board flat and in the track. Small corrections with the front foot only. If the board drifts out of the groove, press the front foot down and let the lift straighten you out rather than steering.
- At the top, release deliberately. Take the pole in one hand, pull it out and away to the side, and let go.
- Get clear of the track immediately. The next rider is ten metres behind and is not expecting you to stop at the top of the line.
The T-bar, including riding with a partner
The T-bar is easier than a button lift on a snowboard, and considerably easier when there is somebody else on the other arm. Take your arm of the bar behind your back thigh, with the stem coming up behind your hip, and push your hip back against it. Both knees stay slightly bent and both feet stay flat.
Riding with a partner changes the geometry usefully. Two riders who lean gently against each other stay upright, because the bar cannot push either of you forward independently. The taller or heavier rider takes the side where the track is firmer, and both bars sit at the same height behind the thigh. Do not hold hands, do not stand on each other's board, and keep the talk to signals.
If one rider falls, both do, because the bar is a single rigid piece. Both should let go at the same moment and clear the track rather than one rider trying to hold the other up.
The small print
Single riders. Some lifts insist on pairs during busy periods and the operator will pair you with a stranger. Agree which arm you are taking and go.
The lift operator. Ask for the lift to be slowed while you get on, and ask them to point out the release point at the top. They will do both and it costs you nothing.
Letting go. Release early if you are unsure, where the snow is flat enough to stand on. Riding a drag lift to the bullwheel because you were too proud to let go is how people end up in awkward conversations with mountain rescue.
Why it goes wrong, and the fix
| Failure | What it looks like | Why it happens | The fix |
|---|---|---|---|
| Pole held at chest height | Dragged onto your toes, then off the side | A bent arm shortens the reach and moves your weight uphill | Hold the pole low with a straight arm |
| Disc in front of the body | Pole pressing the stomach or knee, then a sudden drop | The disc was not passed between the legs before the lift started | Sit back onto the disc before the cable takes up |
| Board out of the track | Edge catches beside the groove, board turns uphill | Over-steering, or looking sideways | Nose up the track, eyes on the top, front foot pressing down |
| Loose back foot | Board wobbles and rotates | Free boot not pressed onto the board | Keep the boot on the stomp pad or against the rear binding |
| Both riders holding on after a fall | One rider dragged, the other twisted | Only one let go | Let go together; a drag lift is never worth a twisted knee |
Published specifications, last checked 28 September 2026. The failure modes reflect what instructors describe most often; the diagnoses and fixes are editorial judgement rather than measured testing.
If your one-footed balance is poor, if you are riding with a knee or hip problem, or if you have already come off the same drag lift several times, do not treat it as a skill you have to master this trip. Use a chairlift or gondola wherever the resort offers one, take the drag lift only as a pair on a T-bar, and book a lesson on it rather than guessing. There is no prize for reaching the top the hard way, and there is a real cost in the confidence it takes from the rest of your week.
Frequently asked questions
Is a T-bar easier than a button lift on a snowboard?
Yes, for most riders. A T-bar supports you across the back of the hip and can be shared, so you are not balancing your whole weight on one disc between your legs. The button lift asks far more of your one-footed balance.
Where exactly should the button go?
Between your legs and under your backside, with the pole running vertically in front of your body and your leading hand holding it at waist height. If the pole presses into your stomach or your knee, you are in the wrong position.
Can two snowboarders ride a T-bar together?
Yes, and it is usually easier than riding alone. One rider takes each arm, the bar sits at the same height behind both back thighs, and each rider leans very slightly towards the other. If one falls, both let go together.
How do I get off at the top?
Take the pole in one hand, pull it out to the side and away from the track, and let go deliberately. Then glide on a few metres so the next rider has somewhere to land. Never release with the pole in front of you, which sends it back down the track.
Where to go next
If the chairlift exit worries you more, read how to get off a chairlift without falling. Between lifts you will be walking with the board in one hand, covered in how to carry a snowboard.
For the wider shape of a first week on snow, see first season snowboarding, and for kit questions in the first few days start with the beginner board guide. There is more in the advice section.