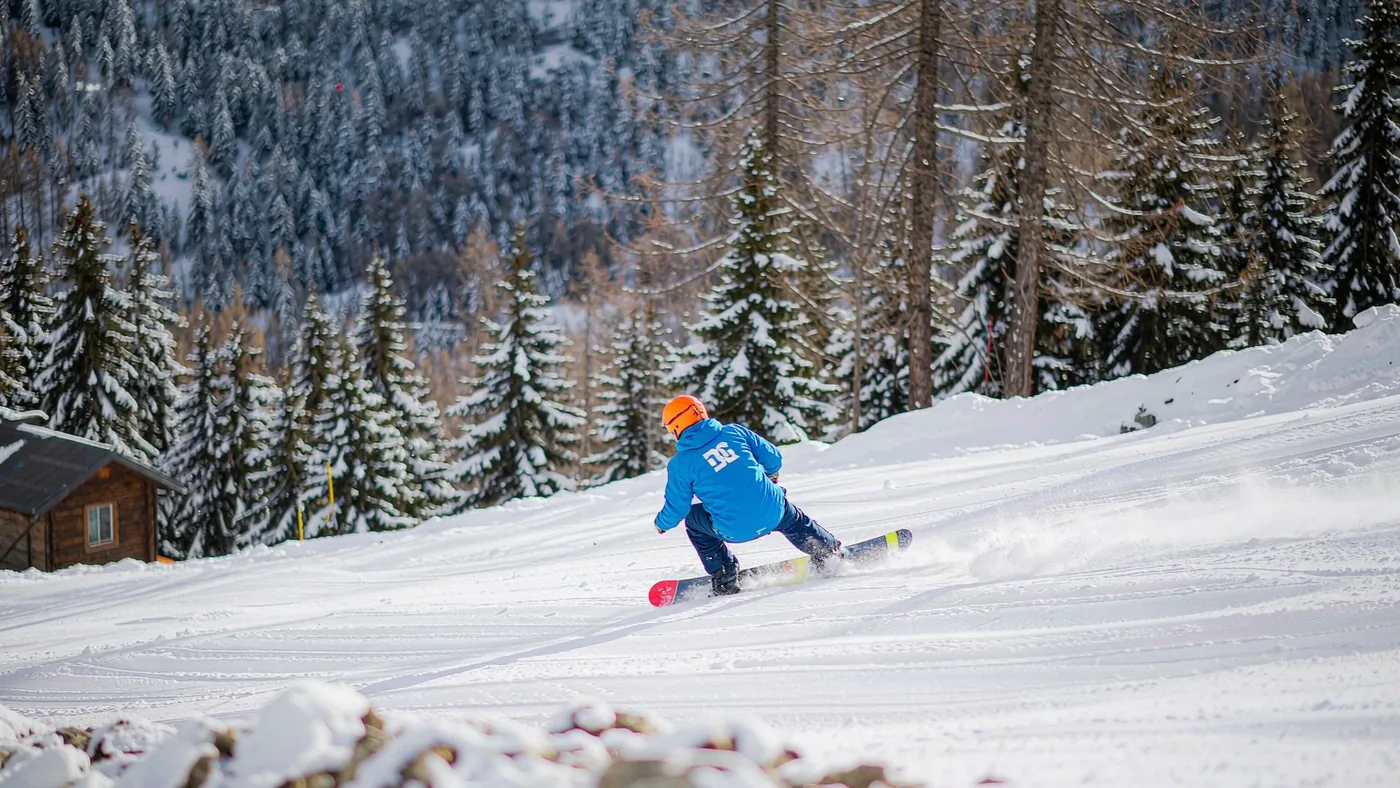
It is the fourth morning of the trip and you have finally got something that feels like control. You can link turns down a red, stop where you want, and hold an edge across a scraped traverse. Then you point the board the other way, and it is as though somebody has quietly swapped your legs for somebody else's.
This is completely normal. You have not lost a skill; you have trained one side of a movement for three days while the other side did nothing at all. Switch riding is easier to learn than most riders assume, particularly if you start early. What makes it much harder than it needs to be is an asymmetric board, a badly chosen stance, and a habit of looking at your feet.
What actually matters
Almost everybody can already do it; they just cannot do it fast. Your body knows the movements, because it has been making them on your good side all week. What is missing is the wiring that lets you produce them under pressure without thinking, which is why the progression below starts slowly rather than by pointing the board the wrong way down a run you like.
An asymmetric board makes it harder; a true twin makes it easier. A directional board with a longer, softer nose and a shorter tail turns differently in each direction, and a taper makes the nose float and the tail sink. Ride one of those backwards and the board genuinely behaves worse, which is not your fault. A true twin with a centred stance is neutral in both directions.
Your stance angles and stance width decide how hard it is. A forward stance — both feet angled towards the nose — puts your body in a position built for travelling one way. A duck stance with the rear foot angled backwards is what makes the reversed direction feel plausible. The binding angles guide covers the numbers, and the stance width guide covers the other half of the geometry.
You will steer where you look, and your shoulders will follow. Switch riding fails for the same reason most technical things fail: the rider keeps their head and shoulders pointing in the old direction while their feet try to do something new. Turning your head, and letting your leading shoulder open towards the direction of travel, is half of the whole skill.
The progression
Done in order, this takes about three riding days. Done out of order, it takes a season and a half.
Stage one: flat ground, then a gentle slope with both feet strapped in. Rehearse the movement with no board — weight onto the new front foot, hips rotating, arms quiet. Then glide backwards and forwards in a straight line, first one way and then the other.
Stage two: easy greens, a few turns at a time. On the easiest green you can find, ride a short section switch with slow, small turns, then turn back to your comfortable direction. Two or three switch turns and a reset. The goal is reps with an escape route, not a whole run in the wrong direction.
Stage three: leaf turns on both feet. A leaf turn is a side-slipping descent where the board traverses one way and then the other without ever completing a full turn — the shape of a leaf falling. Doing them in the switch direction teaches edge control backwards, at low speed. This is where most riders make their real progress, and it is boring, which is why most riders skip it.
Stage four: a full day with your stance reversed. Once you can leaf turn and complete a switch turn on a green, spend a whole day riding switch from the first lift. Take your normal direction only when you have to. It is uncomfortable and slightly humiliating, and it does more than every other stage combined.
The picks
You do not need a new board to learn switch. If you already own a true twin with a centred stance, you have everything required. If you are buying, one board comes up repeatedly for riders who want to ride switch without giving away grip.
A twin that still holds an edge. Better than most twins in crud, and happier in the park than most all-mountain boards.
Best for
- Riders who want switch riding without giving up grip
- Resort riders who mix piste and park in one lap
Worth skipping if
- Deep-day powder hunting
- Riders who want a soft, jib-friendly feel
- Profile
- Hybrid camber
- Shape
- True twin
- Flex bias
- Medium
- Intended terrain
- All-mountain freestyle
Strengths
- Strong grip for a twin
- Handles chunder better than the flex suggests
- Solid eco-credentials with no performance penalty
Trade-offs
- Overkill if you never ride switch
- Notably more expensive than comparable twins
Specifications reflect published manufacturer information, last checked 2026-09-28. We have not laboratory-tested this product; the assessment above is editorial, based on the published design and the rider profile it targets. How we review gear.
How they compare
There are four ways to approach this, and they cost very different amounts of money and effort.
| Approach | Cost | What it actually fixes | Time to see a benefit | Who it suits | Who it does not |
|---|---|---|---|---|---|
| Rebuild your stance to a duck setup | A few minutes with a screwdriver | The geometry that makes the reverse direction feel wrong | The first run after the change | Anybody with a forward-angled stance | Riders with knee trouble who need a forward rear foot |
| Change nothing and practice on greens | Free | The wiring, slowly | About three riding days | Riders on a tight budget | Riders who want quick results and quit early |
| Buy a true twin | Mid to high | The board's asymmetry and the stance geometry together | Immediately | Riders also riding park, or wanting one board for everything | Occasional riders who never ride switch |
| Buy a twin and take a lesson | The most | Board, geometry and the specific habits you cannot see | The same week | Riders doing a full week with time to spare | Anyone riding only two days |
Published specifications, last checked 28 September 2026. The timeframes are ordinary riding-practice estimates rather than measured results, and depend heavily on how much time you spend deliberately riding the wrong way round.
Why it is worth doing
Park riding is close to impossible without it. Nearly every trick involving a rotation lands you either switch or sideways, and a rider who cannot ride away switch cannot hold a landing. This is the biggest practical reason, which is why park riders learn it early and it feels optional to everyone else.
It fixes your good side. Riding switch exposes every lazy habit — leaning on the back foot, dragging the shoulder, steering with the front knee. Riders who spend a season deliberately riding switch usually find their regular riding improves too.
What goes wrong, and how to make it easier
You look at your front foot. The board then goes wherever the front foot is, which is nowhere useful. Fix your eyes on a point several metres ahead and leave them there.
You keep your shoulders in the old direction. If your chest is still pointing the way it used to, your hips cannot rotate properly. Open the leading shoulder towards the new direction of travel and everything below it follows.
You try it on terrain you cannot ride forwards. Switch riding costs you about one level of ability. If your comfortable direction is a red, expect the switch version to feel like a blue and a half for the first few days.
If you ride once or twice a season, or you are not interested in park riding and simply want to be safe on a long cat track, a dedicated twin is money you do not need to spend. Adjust your stance towards a duck setup, spend one day a season deliberately riding backwards on greens, and buy the board that suits the terrain you actually ride most. Twins cost more than comparable directional decks and give away a little float in deep snow, and neither trade is worth making for a skill you will use twice a year.
Frequently asked questions
How long does it take to learn to ride switch?
Most riders reach basic competence on green and easy blue runs in about three deliberate riding days. Feeling comfortable riding switch on a red, or in awkward snow, usually takes a full season of occasional practice rather than a single trip.
Do I need a true twin snowboard to ride switch?
No, and plenty of riders learn on directional boards. A true twin removes the board's own asymmetry from the equation so you are only fighting your own habits. If you are buying anyway, a twin with a centred stance makes the process noticeably quicker.
What stance should I use for switch riding?
A duck stance with the front foot between twelve and fifteen degrees and the rear foot between minus six and minus nine degrees is the usual starting point. A forward-angled rear foot makes travelling backwards feel unnatural, though riders with knee problems may need a compromise.
Why does switch riding feel so much harder than regular riding?
Because it is a separate motor pattern you have not rehearsed, and your balance changes because the muscles on the other side of your body are doing the stabilising work. The difficulty is normal and it drops sharply after the first few deliberate sessions.
Should I learn switch before or after learning to carve?
Either order works, but learning switch early is easier. Riders who have spent years carving in one direction have more habits to unlearn and more attachment to feeling competent. If your turns have just started linking, this is the cheapest moment to add switch riding.
Where to go next
For the geometry, read snowboard binding angles explained and the stance width guide. If you are buying, true twin vs directional snowboards explains what you give up, and the best twin-tip round-up covers the options. There is more in the advice section.