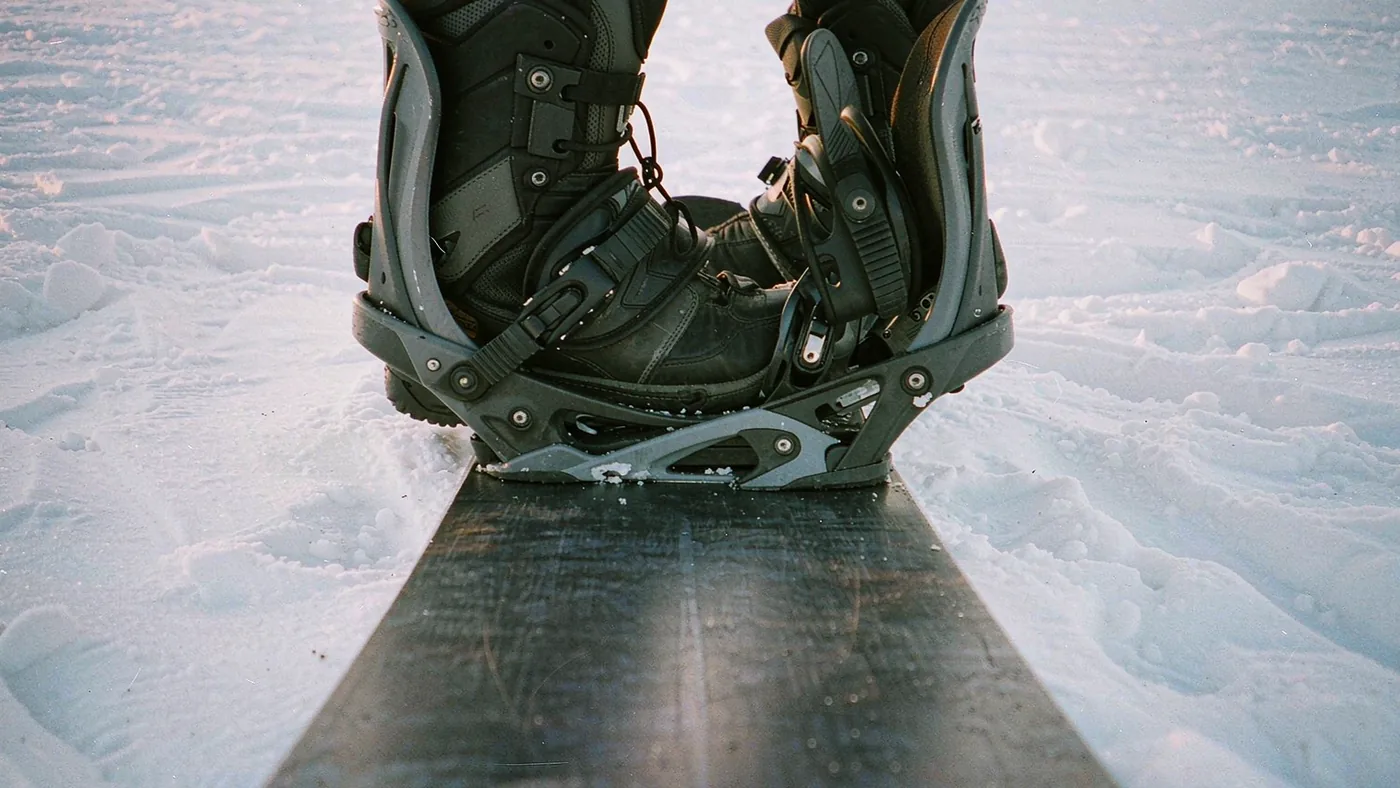
The most common setup on any European rental rack is a duck stance of about plus fifteen and minus six, because it is a compromise that flatters almost everybody and offends almost nobody. Riders inherit it, ride it for three seasons, and then wonder why their front knee aches after a morning of short turns on firm snow, or why their boots keep touching down when they try to lay the board over.
Binding angles are the cheapest adjustment on a snowboard. They need one screwdriver, they cost nothing, and they change how the board goes from edge to edge, where your knees point, and how much boot hangs off the edge of the deck. They are also the adjustment most riders make once and never revisit, usually because nobody told them what the numbers do.
What the two numbers actually mean
Angles are written front foot first, then back foot, in degrees from perpendicular. A front foot at plus fifteen is rotated fifteen degrees towards the nose; a back foot at minus six is rotated six degrees towards the tail. Zero is square across the board.
Three things follow from that.
Positive on both feet is a forward stance. Both knees point towards the nose, your hips face the direction of travel, and the setup suits carving, hardpack and freeride riding where you spend most of your time going one way and want the strongest possible edge hold.
A negative back foot is a duck stance. Your feet point away from each other, your hips sit square to the board, and the setup is neutral for riding switch and for landing jumps. It is the default in most rental shops because it lets a rider go both ways without changing anything.
Small numbers are a neutral, all-purpose compromise. Something like plus fifteen and minus six, or plus eighteen and minus three, keeps the board easy to ride in both directions while giving the front foot enough angle to drive a turn.
Why a few degrees matter more than they look
The angle rotates your leg, and where your knee points decides how much of your weight travels down through the edge.
Knee tracking. A duck stance turns both knees outwards, which is comfortable for most riders and awkward for some. A positive back foot turns the back knee towards the nose, which lets a carving rider drive through the turn rather than skid the tail.
Hip position. Angles rotate your hips as much as your knees. A forward stance opens the hips towards the nose, which is what makes a committed carve feel natural; a duck stance squares them, which is what makes riding switch and spinning feel natural.
Overhang. Rotating a binding towards duck moves the length of the boot closer to the length of the board, which reduces how far the toe and heel stick out past the edge. A rider whose boots touch down in hard carves can often fix it by changing angles rather than buying a wider board — which is worth knowing, because waist width is the expensive fix and this one is free.
| Front / back angle | Who it suits | What it is good at | The cost | Effect on the knees | Watch out if |
|---|---|---|---|---|---|
| +15 / −6 | Most recreational riders, first setups | Riding in both directions without changing anything | Nothing is optimised | Both knees turn slightly outwards | Your front knee aches on long firm runs |
| +21 / +6 or similar forward stance | Carvers, freeride riders, hardpack specialists | Edge hold, drive through the turn, stability at speed | Awkward riding switch, harder on the back knee | Both knees point towards the nose | You ride park or switch regularly |
| +12 / −12 or wider duck | Park riders, freestyle, anyone learning to ride switch | Neutral balance for switch and landings | Less punch through the back foot in a carve | Both knees turn outwards more sharply | Your hips are tight or your knees complain |
| +18 / −3 | All-mountain riders who carve more than they spin | A bias towards the front foot without committing to a full forward stance | Slightly less natural switch riding | The front knee tracks a little more forward | You spend your days in the park |
| Near 0 / 0 | Almost nobody on a twin board | — | No leverage in either direction | Knees track almost straight ahead | You want the board to do anything well |
Editorial descriptions of how angle settings usually behave for recreational riders, last checked 28 September 2026. Knee tracking and handling are judgements about geometry rather than measured results, and individual anatomy changes the answer.
Angles and knee pain
Aching knees on a snowboard are usually blamed on the board, the boots or the snow. Angles are a more common cause than most riders expect.
Pain on the inside of the knee often follows a stance that is too narrow in angle for a rider with tight hips, or a very wide duck stance that the hips cannot rotate into. Both leave the knee rolling inwards under load.
Pain at the front of the knee usually appears with a strongly positive back foot or a very wide stance, because the knee has to travel a long way forward to hold an edge.
Pain that appears only on one side is a clue that the setup is asymmetric in a way you did not intend, either in angle or in stance position.
If any of that sounds familiar, change one thing at a time. A three-degree change on one foot is enough to feel, and it is enough to make a knee problem worse as easily as better.
How to change angles without making it worse
Write down where you are. Note both angles before you touch anything, including which foot is the front one. Without a record, a failed experiment is hard to undo.
Change three degrees at a time. Larger jumps make the board feel unfamiliar, which makes it hard to judge whether the change helped. Three degrees is enough to feel on snow and small enough to reason about.
Move one foot, not both. If the aim is more carve grip, angle the back foot up first and leave the front alone. If the aim is easier switch riding, work on the back foot towards duck.
Give it half a day. The first run tells you almost nothing, because a change of angles makes old habits fight the new setup. Ride a few hours, then decide.
Re-check your overhang and stance width afterwards. Rotating a binding changes both how far your boot hangs past the edge and, slightly, where your feet sit relative to the insert pack. Check the boots are still centred on the board's waist before you go up.
Change angles and width separately. Stacking two variables at once makes the result impossible to interpret.
Verdict
If you are on your first week or two and your setup is comfortable, leave the angles alone and spend the time learning to turn. A beginner cannot yet feel the difference that three degrees makes, and changing setup every day removes the only constant you have. Riders with a knee or hip injury should also treat this as a conversation with a physio rather than a chart, and anyone who has finally found a setup that does not hurt should write the numbers down and stop experimenting.
Frequently asked questions
What is a duck stance?
It means the front foot is angled towards the nose and the back foot towards the tail, so your feet point away from each other — commonly something like plus fifteen on the front and minus nine on the back. It is the standard freestyle and beginner-friendly setup because it works equally well riding in either direction.
Are wider binding angles better for carving?
A more positive back foot usually is, because it lets the back knee and hip drive through the turn instead of skidding the tail. Riders who carve a lot often end up somewhere around plus twenty-one on the front and plus three to plus nine on the back, at the cost of riding switch being less natural.
How much difference do three degrees make?
More than most riders expect, which is exactly why three degrees is a sensible step size. It is enough to change how your knee tracks and where your boot sits over the edge, and small enough that you can still tell whether the change helped.
Can binding angles stop my boots touching the snow in turns?
Sometimes, yes. Rotating towards duck moves the boot's length closer to the board's length, which reduces overhang without changing any hardware. If more than about a centimetre of boot still hangs over each edge, wider angles will not save you and a wider board is the real fix.
Where to go next
For the mechanics of mounting, centring and highback position, how to set up snowboard bindings is the step-by-step version. If your aim is stronger edge hold on firm mornings, riding ice and hardpack covers the technique that goes with a more positive stance.
Riders working on switch should read learning to ride switch, and anyone heading off piste will find that riding powder for the first time rewards a slightly different setup again. Everything else sits in the buying-guides archive.